Garden Lighting: How to Stage Paths, Plants & Seating Areas with Atmosphere
Why light redefines your garden after dark
By day, plants, materials and structure shape your garden. At night, light takes over—and decides whether your garden disappears after sunset or reveals an entirely new mood.
Great garden lighting delivers three things at once:
- Safety – illuminated paths, steps and entrances prevent trips and provide orientation
- Atmosphere – carefully placed light creates mood, depth and intimacy that daylight can’t
- Design – light highlights features that would otherwise vanish in the dark: tree canopies, water surfaces, sculptures, façades
The most common mistake: too much light in too many places. 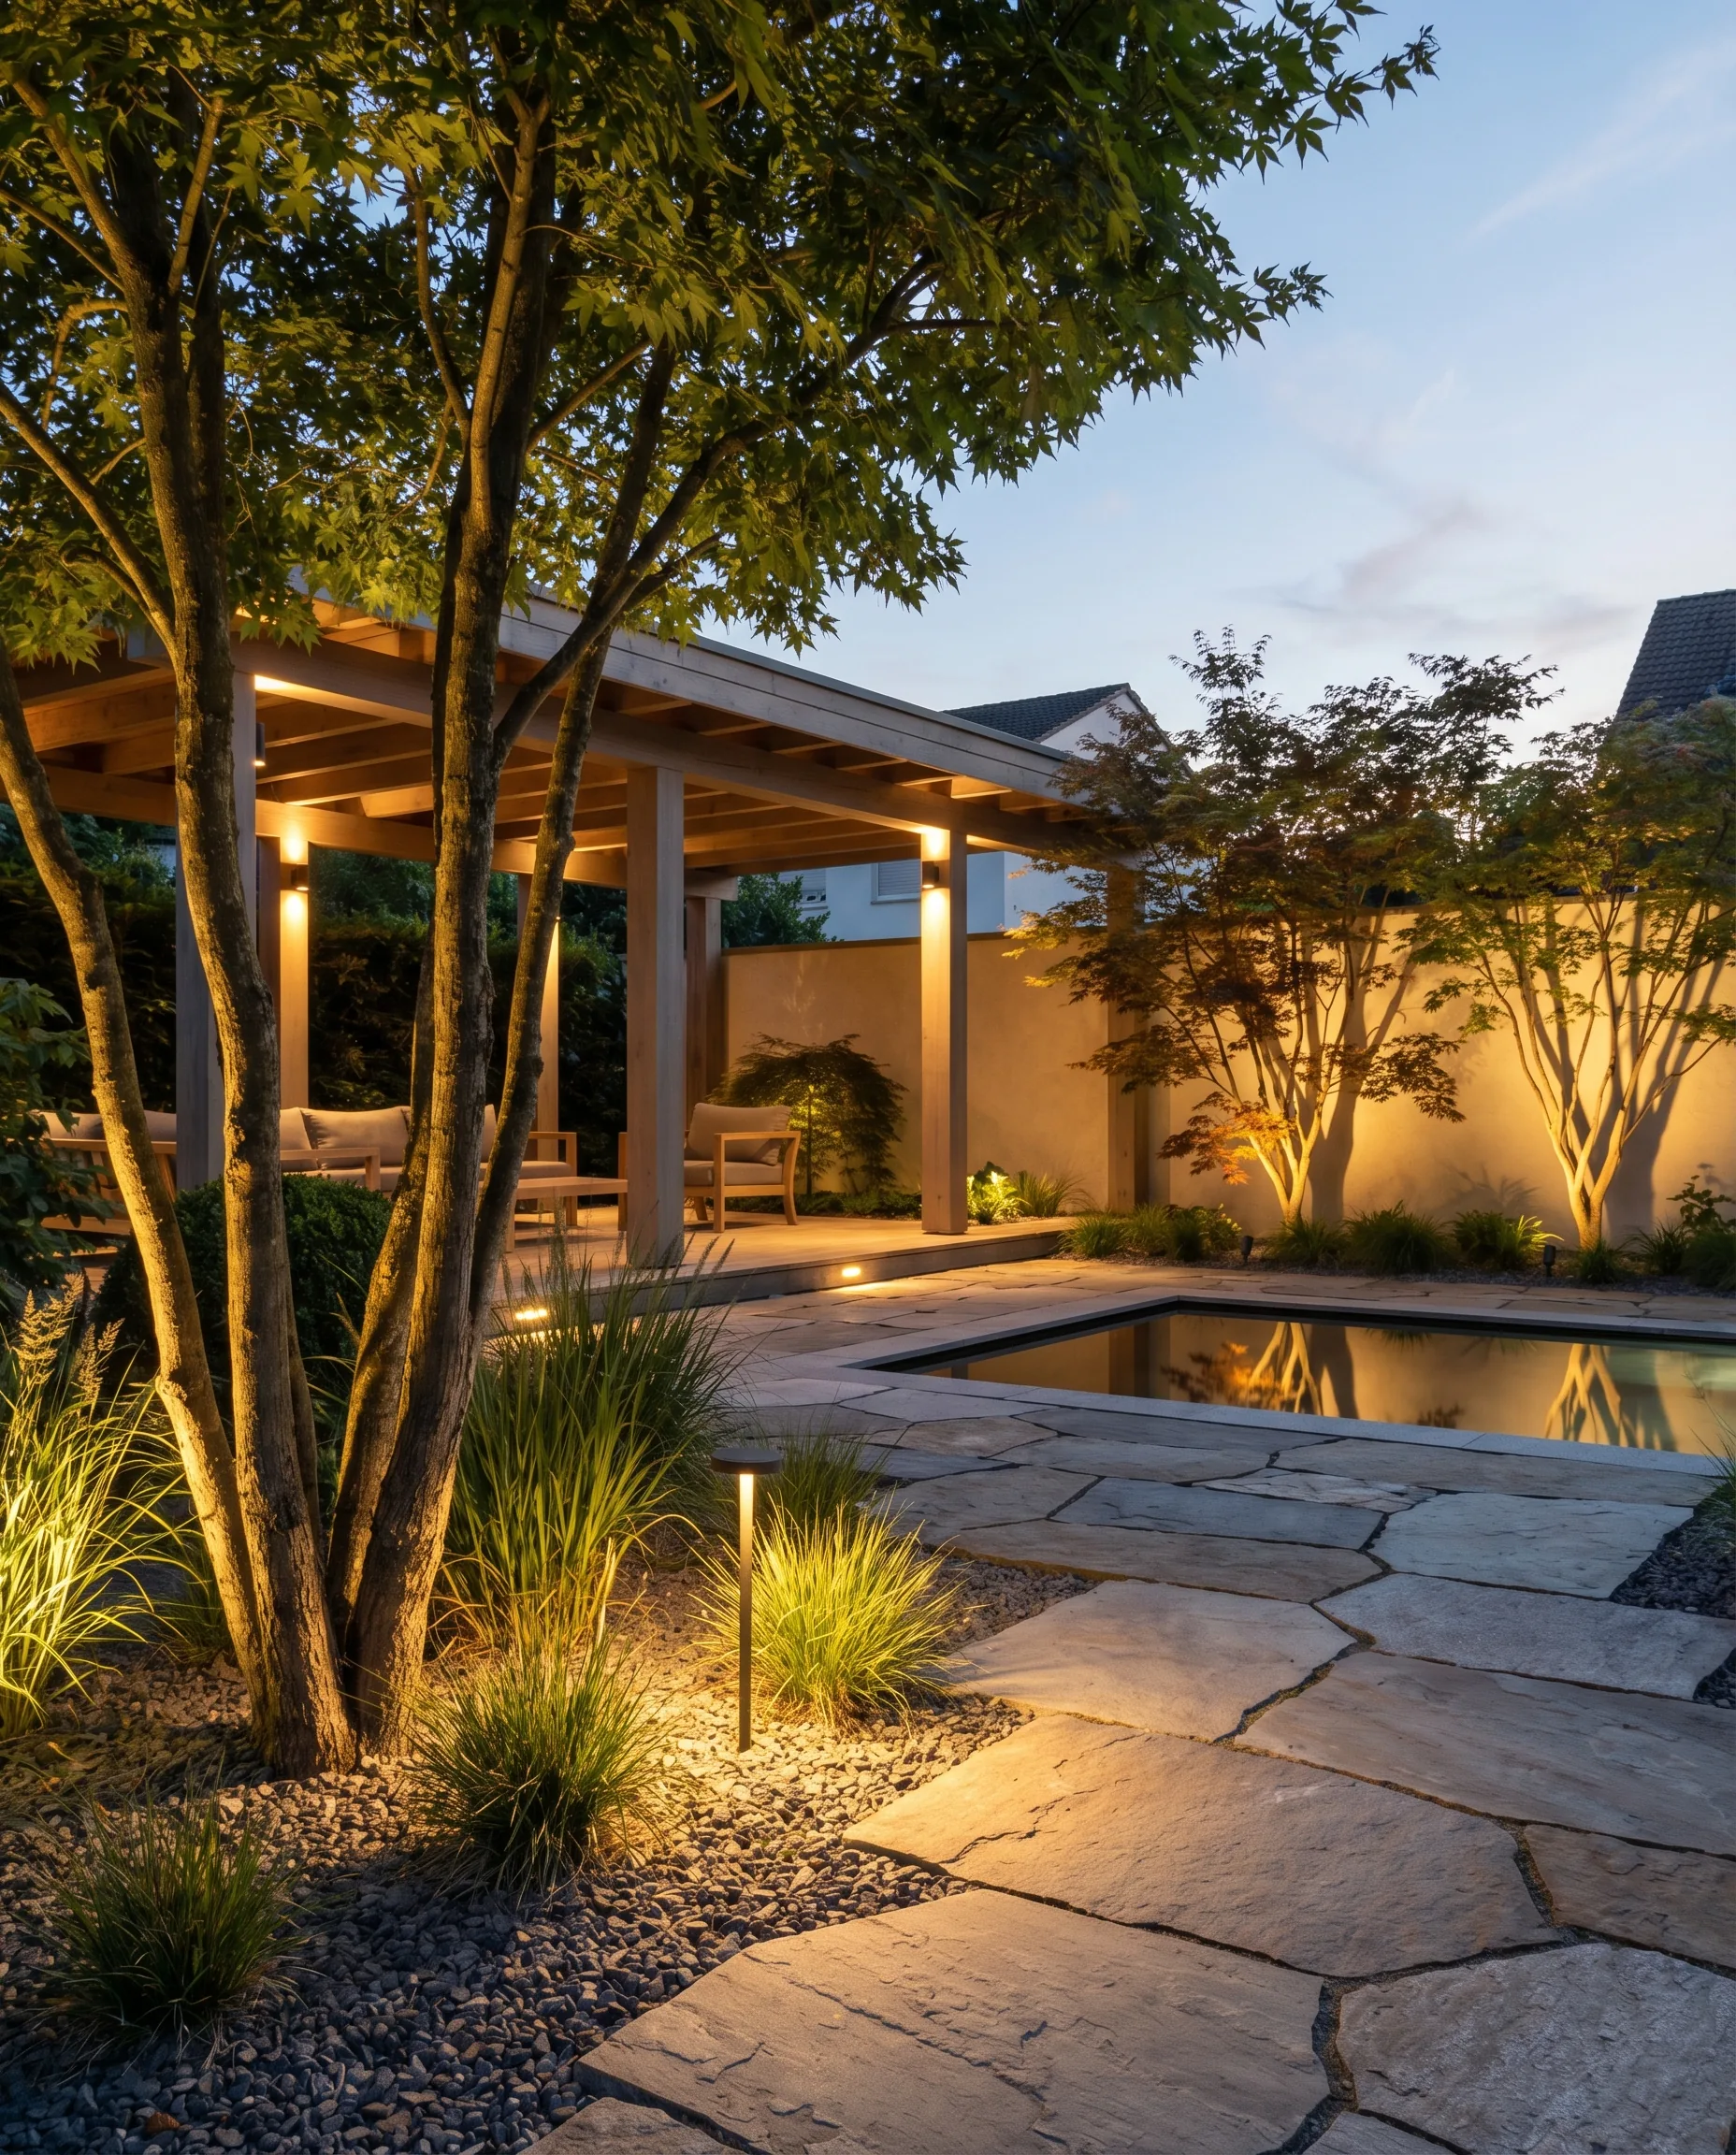
Great garden lighting works with contrast—light and shadow, illuminated and unlit. Not everything has to glow. But what does, needs to glow properly.
Path lighting: safety and guidance
Paths are the most important application for garden lighting—because here it’s about function and impact at the same time.
Bollard lights
Low bollard lights (40–80 cm high) along a path illuminate the ground without glare. They’re especially suited to straight main paths and formal garden layouts.
Spacing: every 3–4 meters, staggered on both sides for even illumination
In-ground spotlights
Flush-mounted spots set into the paving illuminate the path from below—subtle, modern and low-maintenance. They’re particularly suitable for large-format slabs and paved paths.
Tip: avoid glare—choose spots with a shallow beam angle or offset them slightly to the side
Step lighting
LED strips integrated into steps or small recessed wall lights mark changes in level and make them safe to use. An important detail that’s often overlooked.
Indirect path lighting
Light from adjacent beds—aimed upward into grasses or shrubs—illuminates the path indirectly. This is the most atmospheric solution, but on its own it’s usually not enough for safety.
Plant lighting: structure and drama
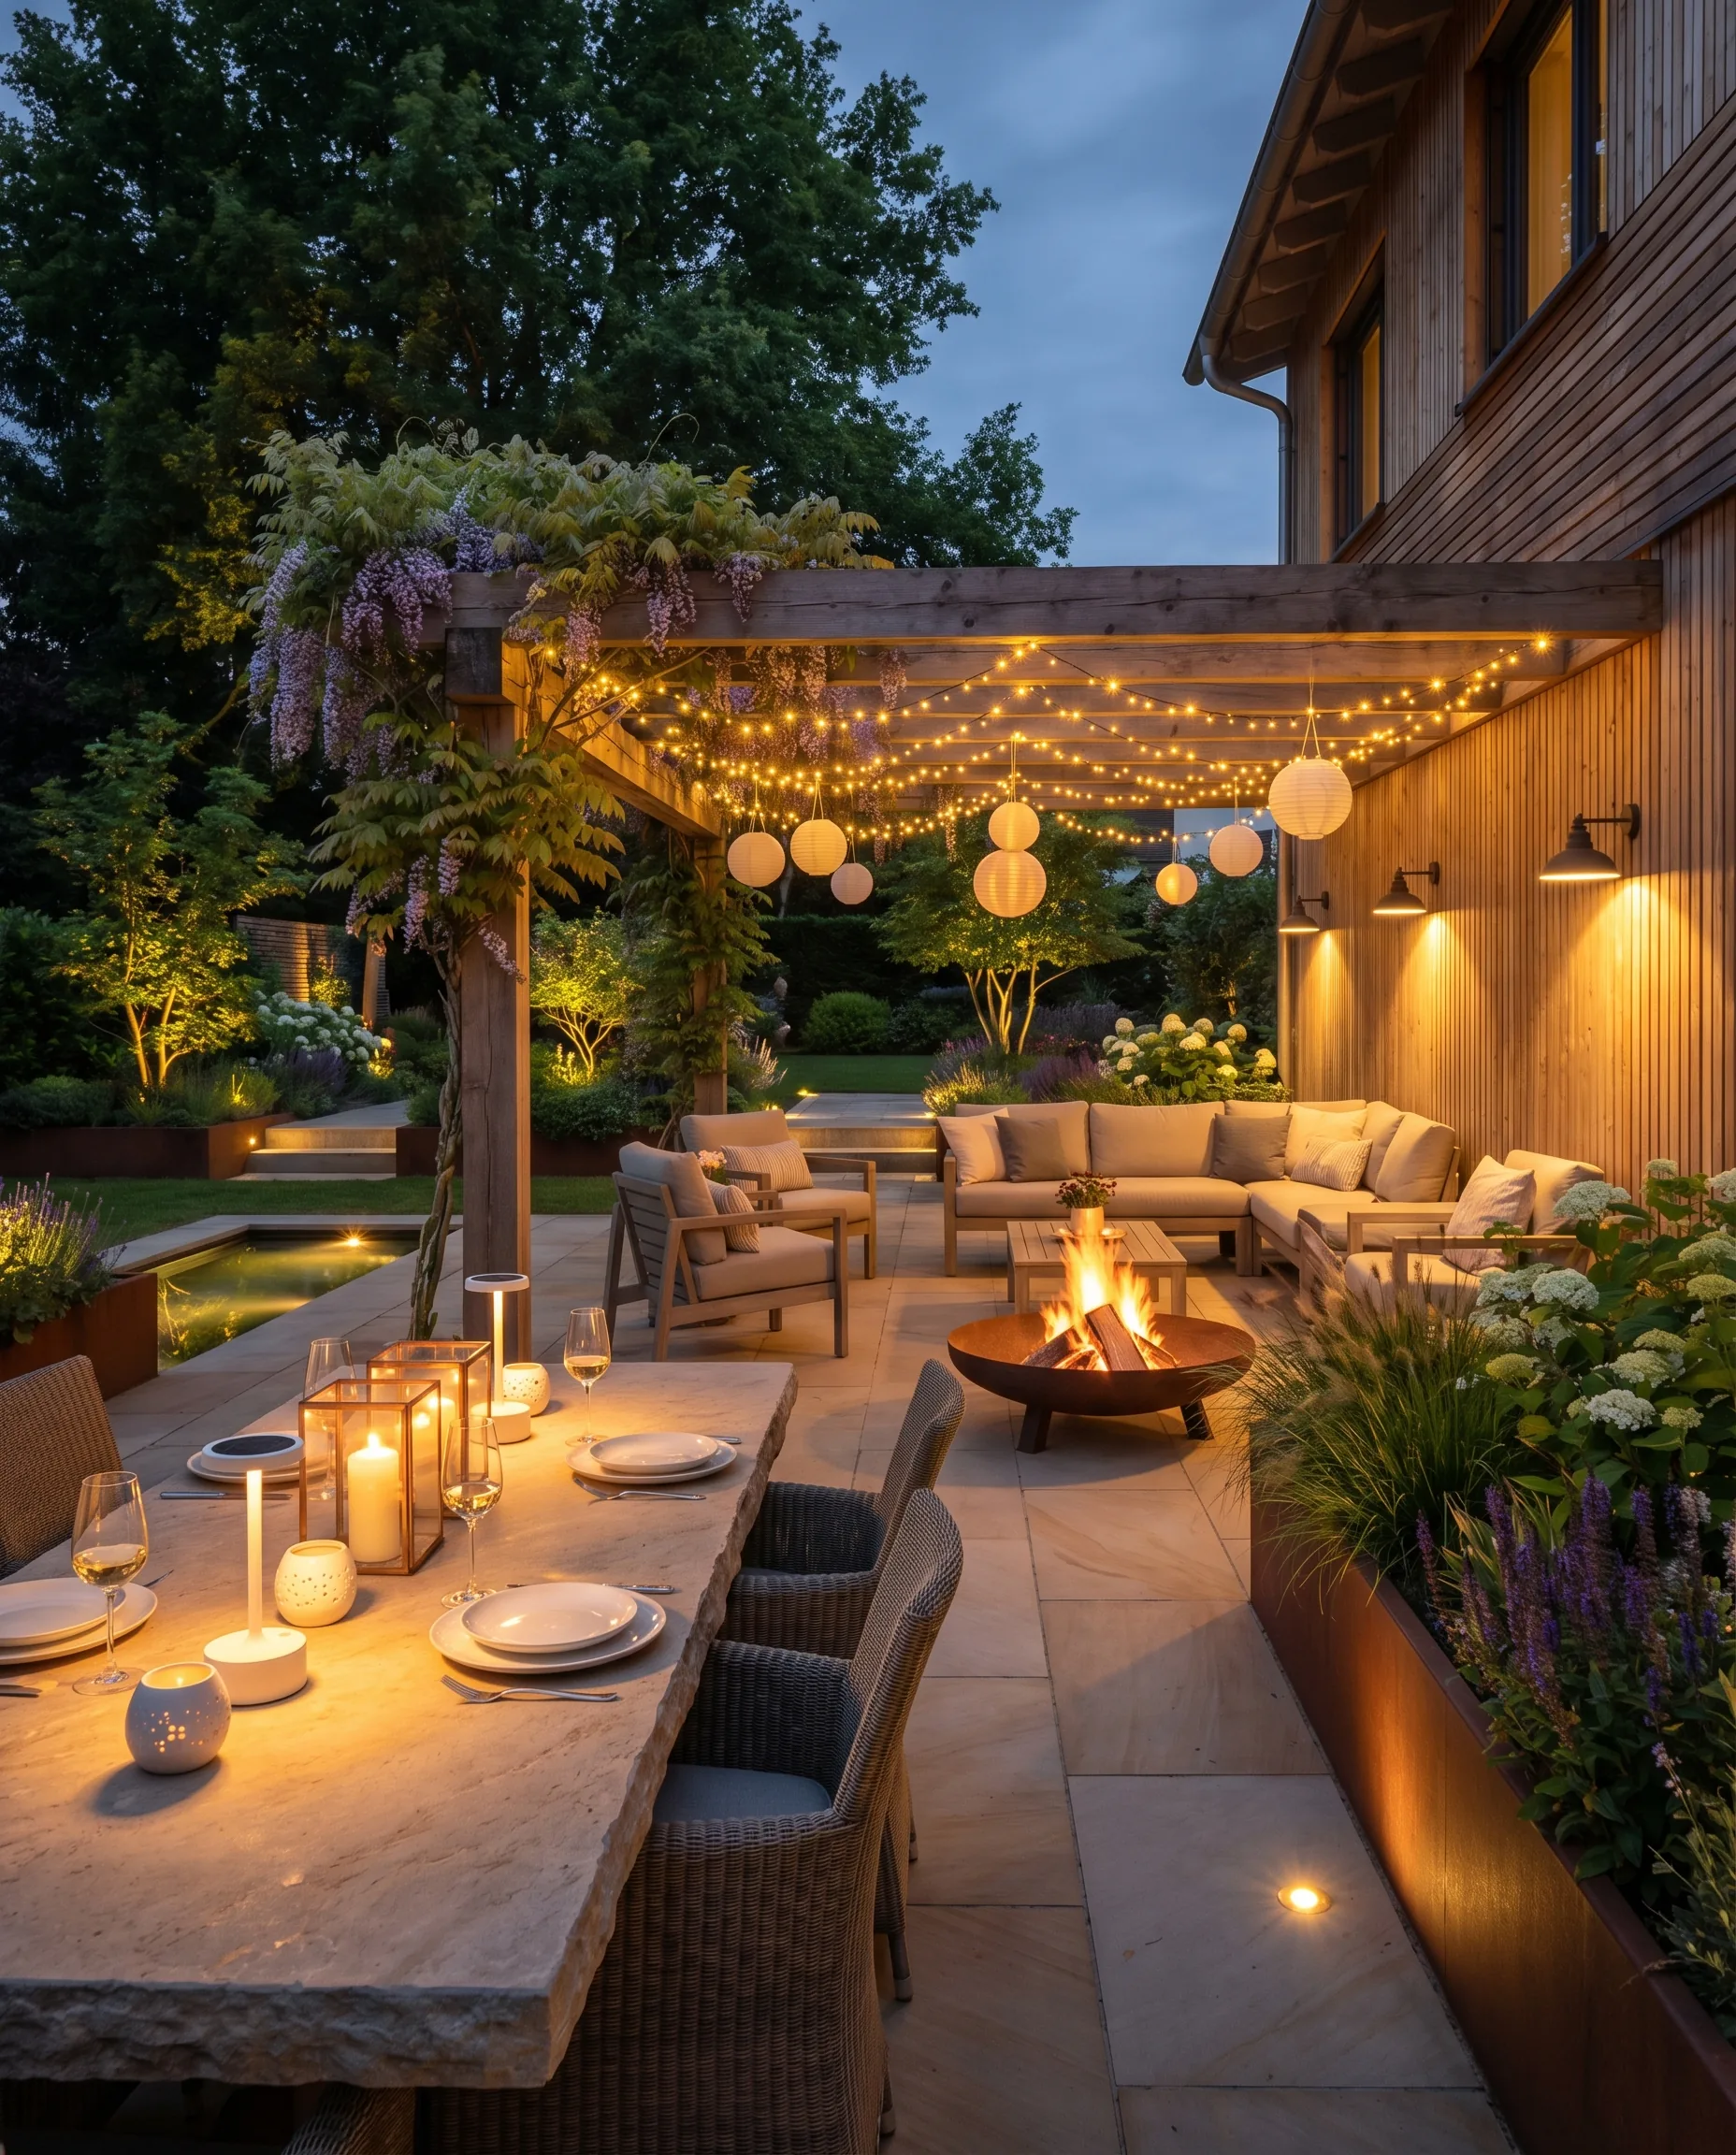
Targeted plant lighting turns your garden at night into a three-dimensional landscape of light.
Uplighting (from below)
Ground-level spots aimed into a tree canopy, a shrub, or a clump of ornamental grasses. The effect: dramatic, sculptural, space-defining.
Especially good for: specimen trees, topiary, tall grasses, bamboo groups
Downlighting (from above)
Fixtures mounted in trees shining downward—like moonlight. Creates soft shadows on the ground and a natural, calm atmosphere.
Especially good for: seating areas under trees, lawns, naturalistic gardens
Silhouette lighting
A wall or surface behind the plant is illuminated—the plant itself remains dark and appears as a silhouette. Particularly striking with finely textured plants such as Japanese maple, grasses or bamboo.
What to avoid
Spotlighting every plant individually. That doesn’t create a garden—it creates a lighting obstacle course. Better: set 3–5 strong points of light and leave the rest in darkness.
Water lighting: reflections and depth
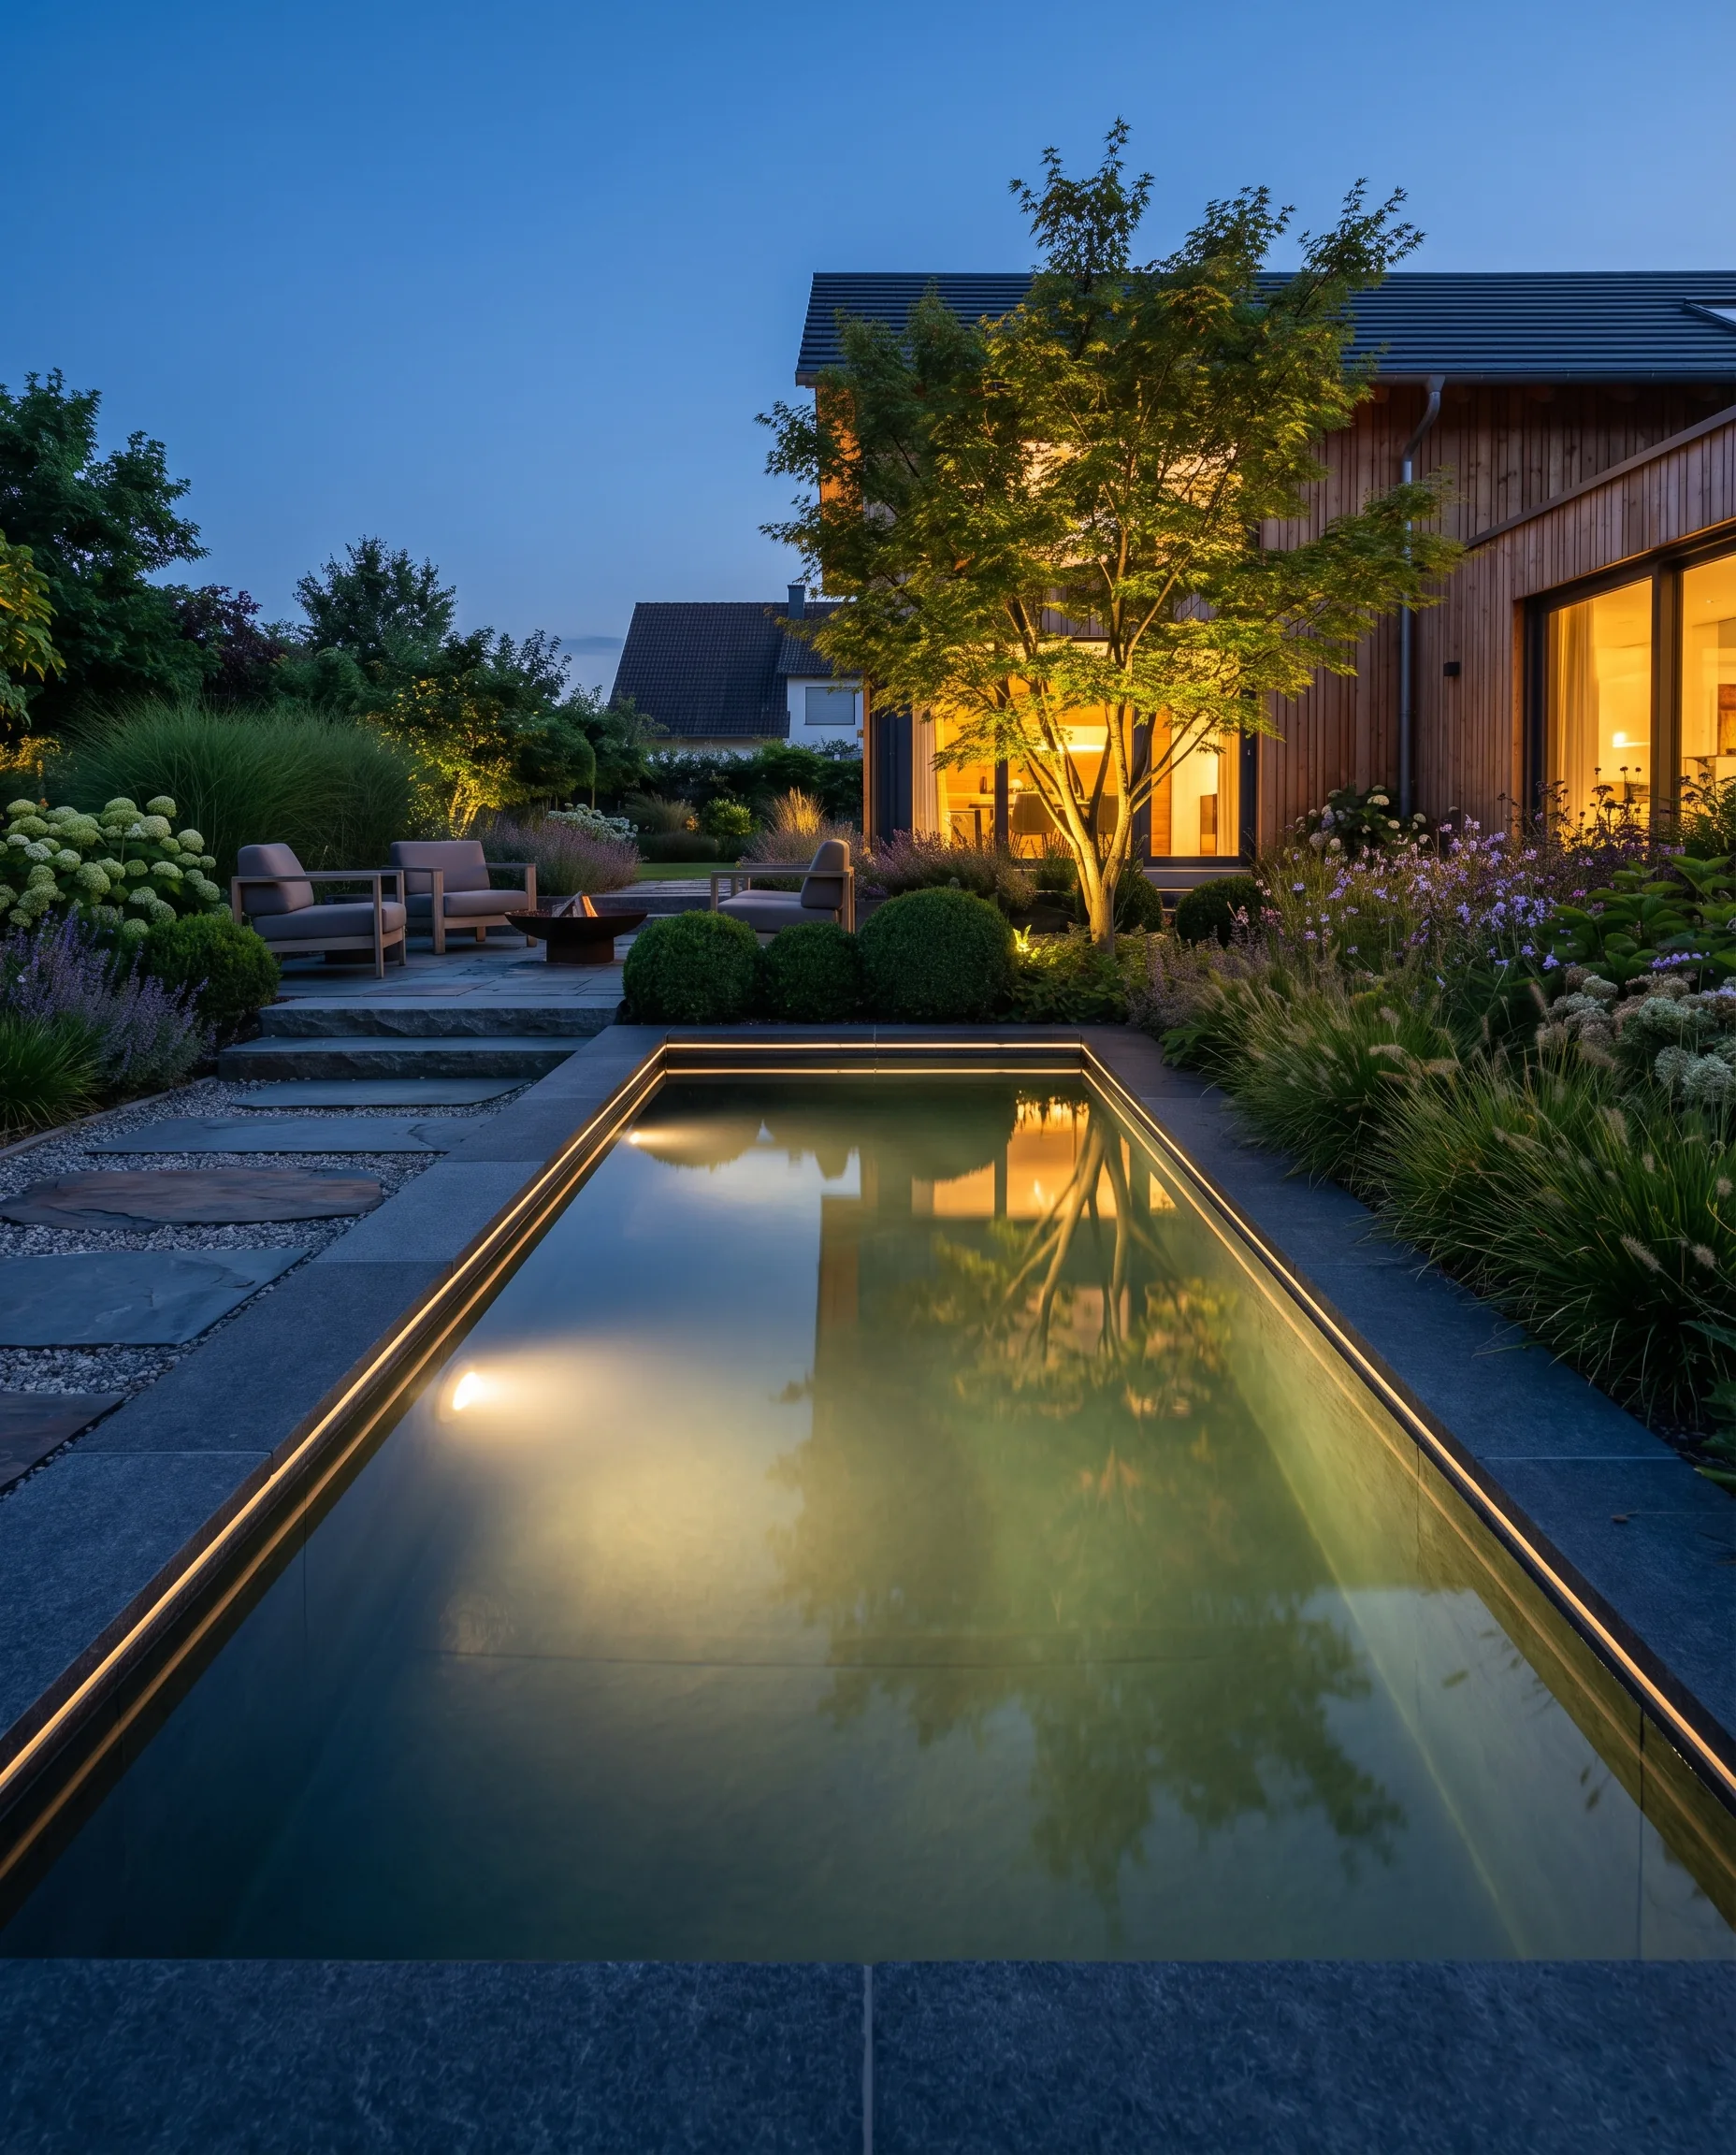
Water and light amplify each other—but only with a restrained approach.
Underwater lighting
Warm-white LED spots in the basin floor make the water glow at night. With a water basin in the garden, one or two light points are often enough to illuminate the entire surface.
Edge lighting
Spots or LED strips along the basin rim light the water from the side. This emphasizes the shape of the basin and creates gentle reflections on the water surface.
Use the mirror effect
An unlit water basin reflects illuminated elements around it—trees, façades, the sky. This indirect water effect is often more impressive than direct underwater lighting.
What to avoid
Colored LEDs, changing colors, underwater light shows. Water looks most powerful in warm, calm light—steady, not animated.
Patio lighting: the outdoor living room
The patio is where garden lighting is experienced most directly. Here, lighting determines how inviting the space feels.
Overhead lighting
String lights, lanterns or downlights on a pergola create a warm, welcoming ceiling over the seating area. It’s the simplest and most effective way to make a patio feel cozy at night.
Table and accent lighting
Candles, hurricane lanterns, small table lamps—they bring closeness and intimacy to the table. LED candles are a practical alternative, but they never quite match the warmth of real candlelight.
Recessed spots in the floor
Flush-mounted spots set into wood decking or stone paving mark the patio edge and illuminate adjacent planting areas. Functional and decorative.
Wall lights
Fixtures mounted on the house wall illuminate the patio evenly. Important: choose warm-white light (2,700–3,000 K) and glare-free shielding.
Accent lighting: details and focal points
Purposeful accents make the difference between a lit area and a staged garden.
Sculptures and objects
A single spot aimed at a sculpture, a planter or a corten steel element creates a strong focal point in the dark garden.
Façade lighting
Uplights at the house wall highlight architecture and visually connect home and garden at night. Especially effective on textured façades (brick, natural stone, wood).
Entrance area
The path to the front door deserves special attention—it’s the first and last impression of the day. Bollards, in-ground spots or illuminated house numbers make the entrance welcoming and safe.
Fence lighting
Low spots or LED strips along a fence or wall illuminate the boundary and create depth in the garden. Particularly effective in small gardens that should feel larger at night.
Lighting design: the most important principles
Great garden lighting doesn’t come from lots of fixtures—it comes from thoughtful planning.
Principle 1: layers
Three layers of light make a garden feel three-dimensional:
- Ground light – path lighting, step lights, in-ground spots
- Mid-level – bollard lights, plant spotlights, accent spots
- Overhead light – tree lighting, pergola string lights, façade uplights
Principle 2: contrast
Don’t illuminate everything. The shift between light and dark creates depth, tension and intrigue. A fully lit garden feels flat and boring.
Principle 3: warm white
Garden lighting should always be warm white (2,700–3,000 Kelvin). Cool white (above 4,000 K) looks sterile and uninviting outdoors. Exception: functional task lighting (carport, bin area).
Principle 4: glare-free
No fixture should shine directly into your eyes. Shielded spots, downward-facing bollards and indirect lighting are the tools for glare-free garden light.
Principle 5: less is more
5–8 well-placed points of light are enough for most gardens. Better fewer, stronger accents than many weak light sources.
Technology: LED, cabling and control
LED is the standard
Modern garden lighting relies exclusively on LED:
- Low energy consumption (up to 90% less than halogen)
- Long lifespan (30,000–50,000 hours)
- No heat build-up (important near plants and wood)
- Dimmable and available in various color temperatures
Cable routing
- Underground cable (NYY-J) for permanently installed fixtures—frost-resistant, durable, protected in conduit
- Low-voltage systems (12V or 24V) for easy installation and lower risk—ideal for retrofit lighting projects
- Solar lights for decorative accents—not suitable for functional lighting (too dim, unreliable with limited sun)
Control
- Timer – simplest solution; lights switch on and off at set times
- Dusk sensor – lights switch on automatically at nightfall
- Smart home integration – dim individual groups, save scenes, control via app
- Motion sensor – useful for entrances and paths; not suitable for atmosphere
Common garden lighting mistakes
Too much light
The most common mistake. A garden isn’t a parking lot—darkness is part of it. It’s what makes illuminated areas truly effective.
Wrong color temperature
Cool-white or bluish light looks unnatural and uninviting outdoors. Always choose warm white (2,700–3,000 K).
Glare
Spots that shine directly at eye level—on the patio, along the path, or from the façade. Every fixture must be shielded or aimed downward.
Cheap solar lights
Inexpensive solar stakes in beds glow weakly and unevenly, and they break quickly. They create no atmosphere, just visual clutter. Better a few high-quality fixtures than many cheap ones.
Lack of planning
Buying fixtures and placing them without first viewing the garden at night. Better: take a flashlight, walk through the garden after dark, and test where light truly works.
Conclusion
Garden lighting isn’t decoration—it’s a standalone design element that redefines your garden after dark. When used intentionally, lighting adds usable hours outdoors and creates an atmosphere that daylight can’t deliver.
The three most important rules:
- Less is more – 5–8 points of light are enough for most gardens
- Warm white and glare-free – always 2,700–3,000 K, always shielded
- Create contrast – light and shadow, illuminated and unlit
Follow these principles and you’ll have a garden that impresses long after sunset.
Next step
Want to see how your garden could look at night with the right lighting? With GardenPilot, you can visualize different design options directly based on your property.
Discover more garden elements
- Garden Path Ideas – Stylishly design paths in your front garden
- Garden Water Basin – Calm water surfaces as a refined design feature
- Corten Steel Garden – Use warm contrasts and crisp edges in a modern way
- Pergola Garden – Structure, shade and atmosphere outdoors
Before you lay cables and order fixtures, a photorealistic visualization of your garden shows you where light really makes an impact—and where you can save money. Upload a photo of your garden and use AI to see how it could look—complete with a rough cost range before you invest. This helps you avoid costly planning mistakes. Visualize your garden with GardenPilot (here’s how it works).
Frequently asked questions
Which garden lighting is best for paths without a power connection?
Solar lights are the simplest solution for paths without a power connection, as they collect energy during the day and light up automatically in the evening. Modern solar path lights now achieve sufficient brightness for safe orientation. For more reliable and brighter results, however, low-voltage LED systems with a central transformer are recommended.
How do you light plants in the garden properly without damaging them?
As a general rule, plants should be lit from below to create a dramatic effect without scorching leaves. LED spotlights with low heat output are ideal and should not be aimed directly at trunks or sensitive new growth. In most cases, a distance of at least 30 cm from the plant is sufficient.
How many lux do you need for a cozy seating area in the garden?
For a relaxed atmosphere, 50 to 100 lux is perfectly sufficient for a garden seating area, as overly bright light destroys the sense of comfort. Warm-white light with a color temperature between 2,700 and 3,000 Kelvin feels especially inviting. Dimmable fixtures allow you to adjust brightness flexibly to suit the occasion.
Are low-voltage garden lighting systems safe for DIY installation?
Low-voltage systems operate at 12 or 24 volts and are considered touch-safe, making them ideal for DIY installation in the garden. Cables can be laid directly in the ground without mandatory protective conduit. Only the transformer itself must be protected from moisture and connected professionally to the house power supply.
Gallery
Plan your own garden
Upload a photo of your garden and get a professional AI concept in minutes.
Start for freeMore articles from Garden Elements
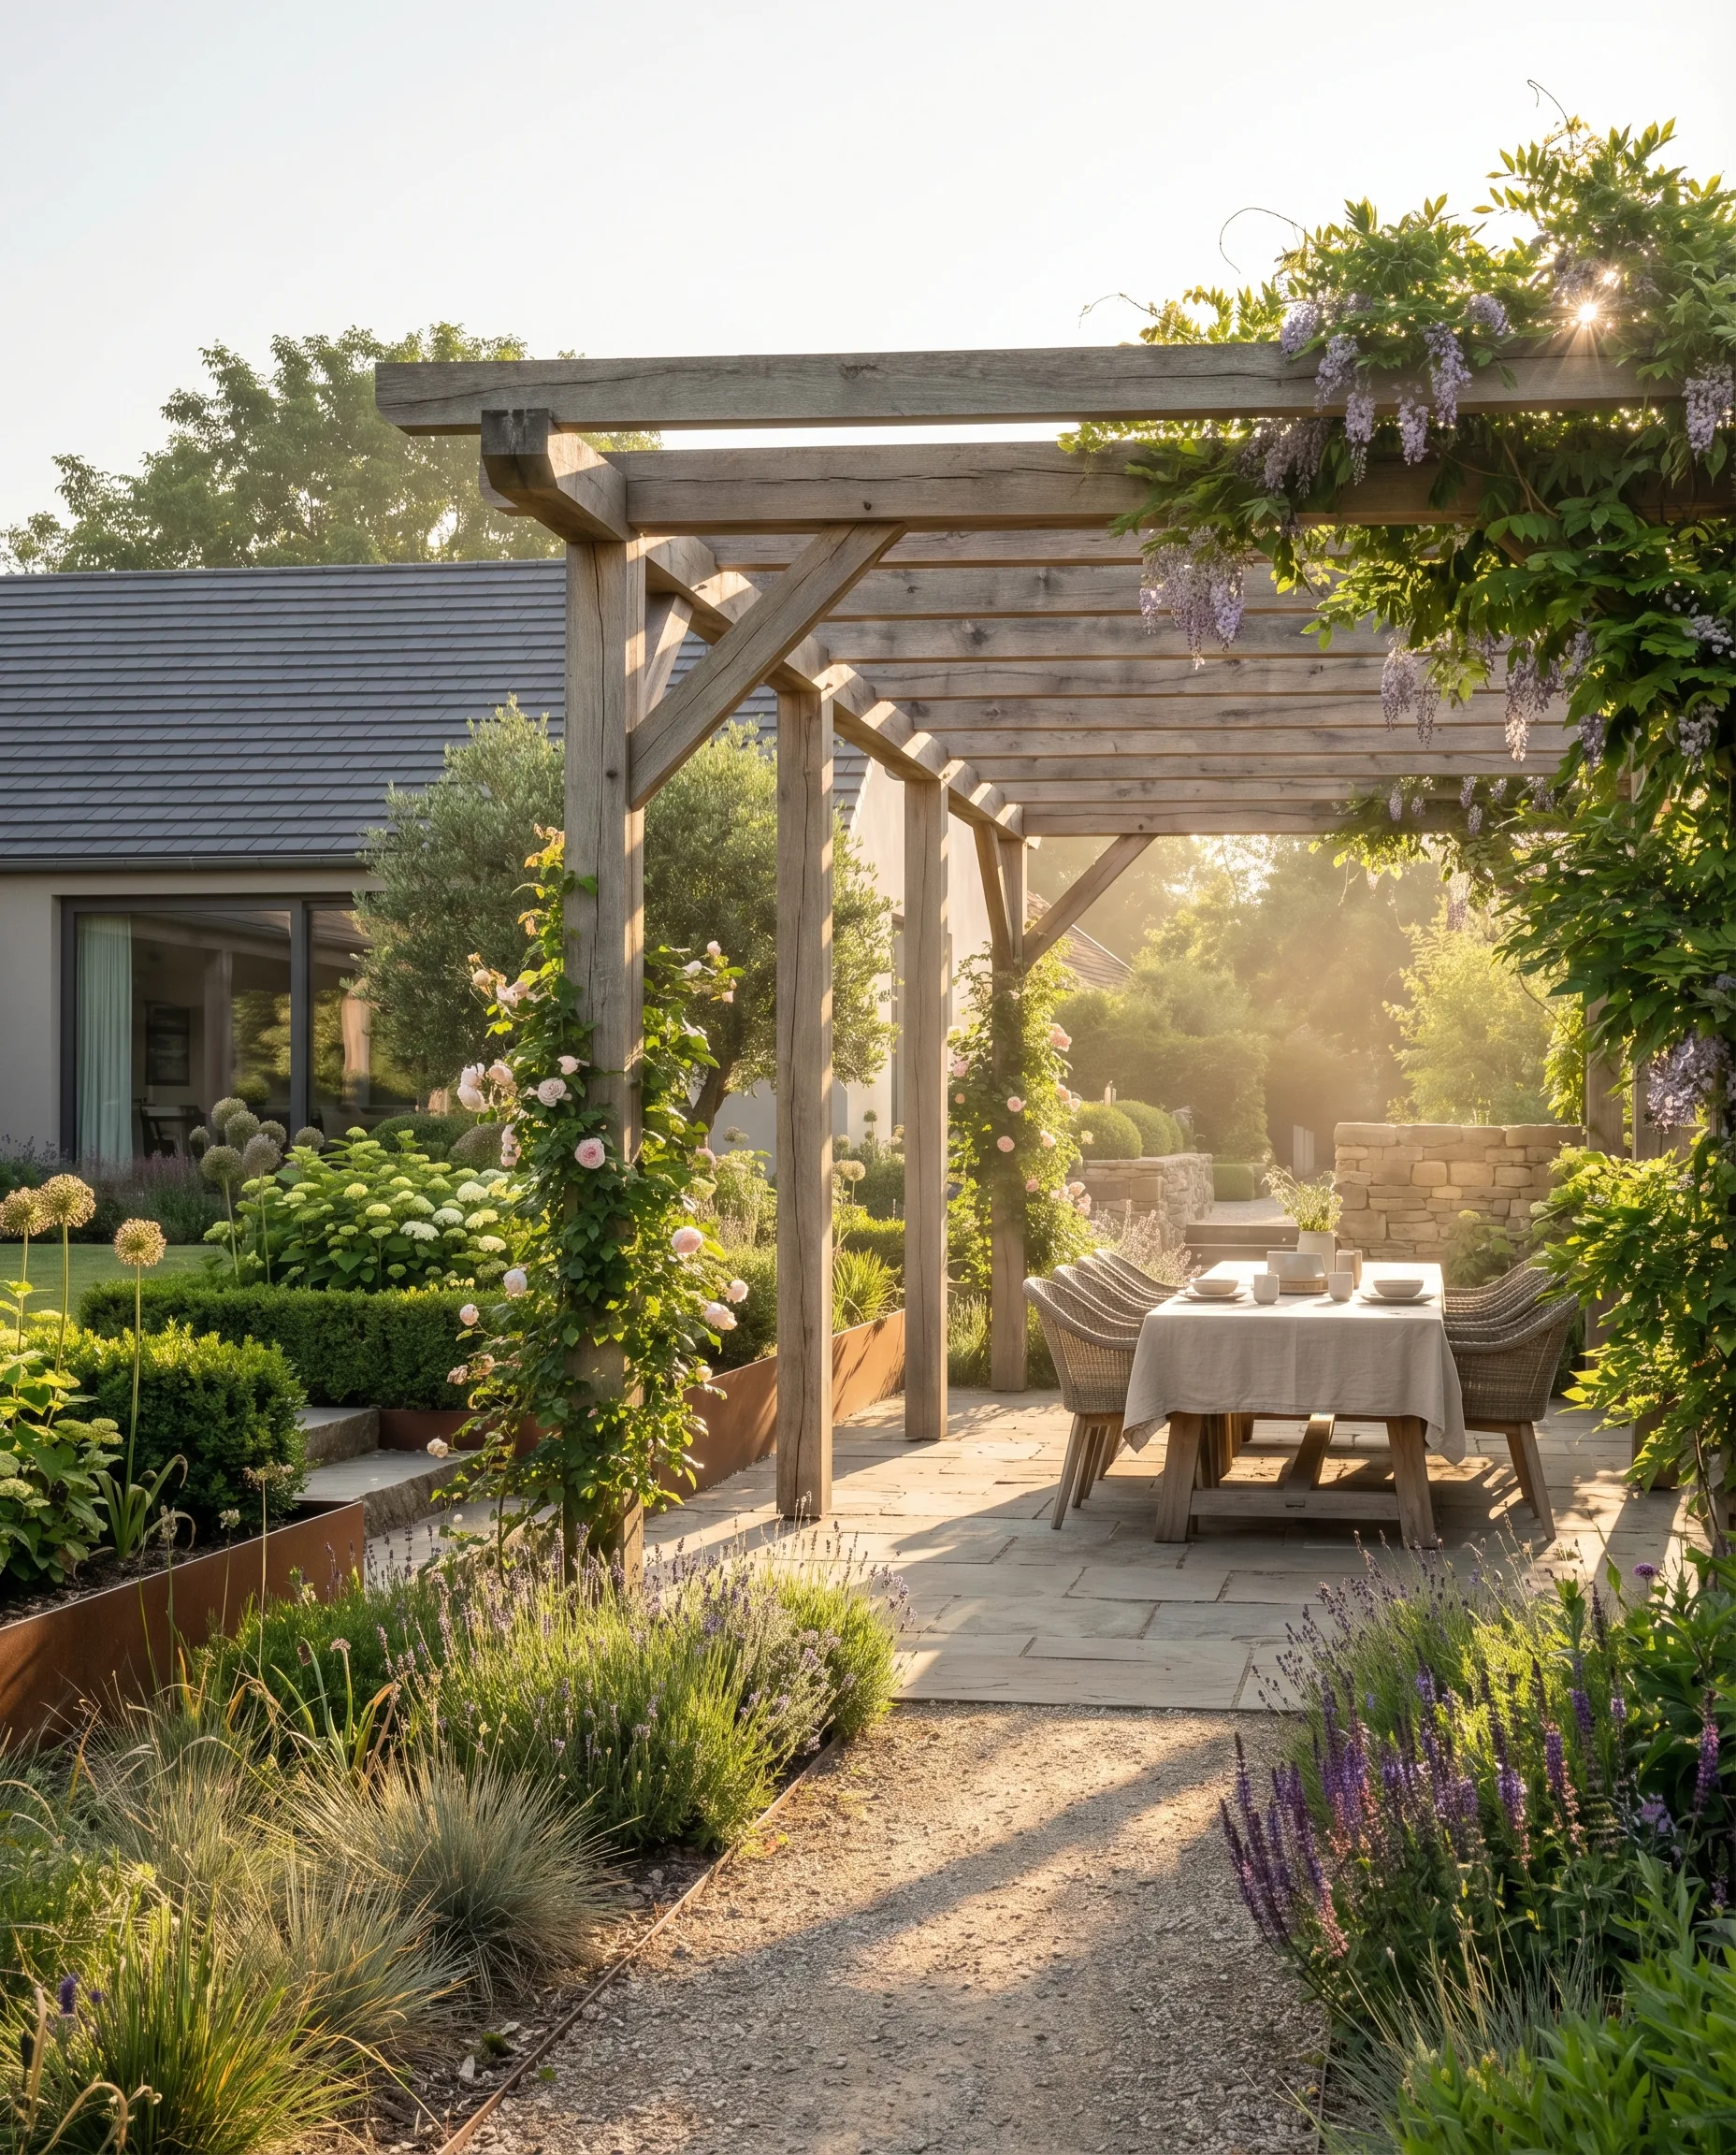
Garden Pergola: Structure, Shade and Atmosphere Outdoors
A pergola brings structure, shade and atmosphere to your garden. Here’s how to plan materials, planting and placement for a stylish outdoor space.
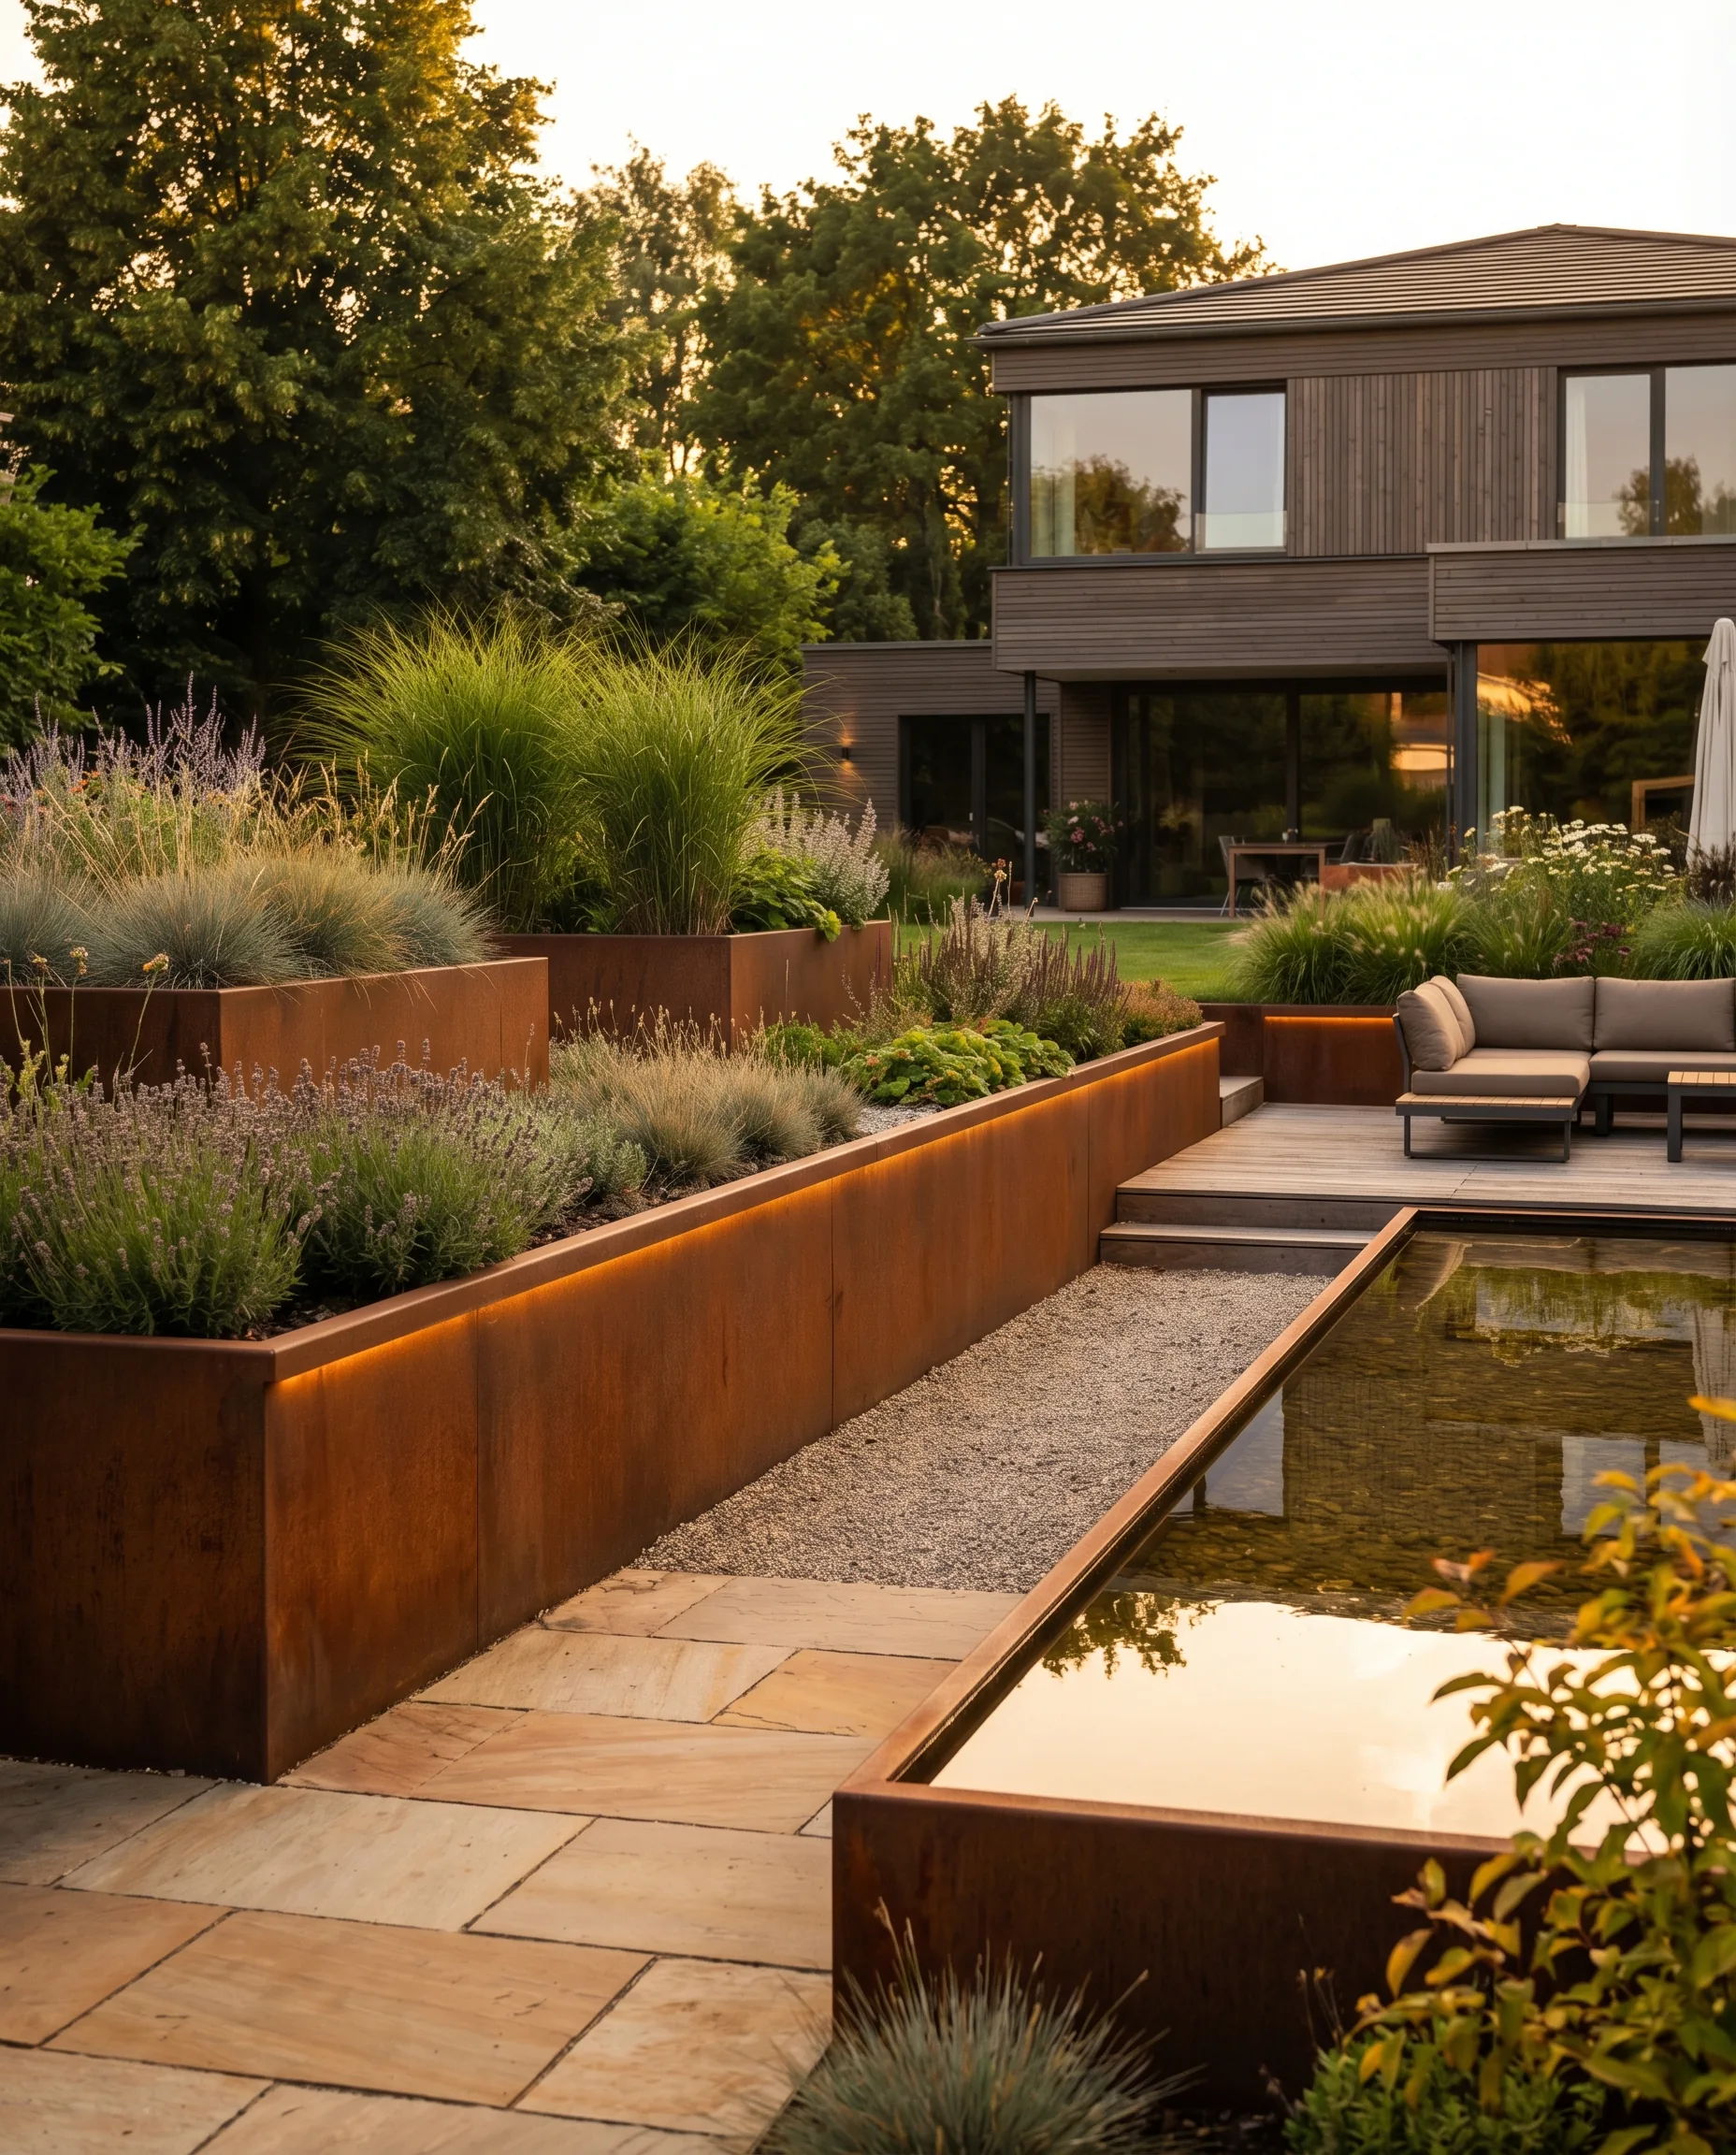
Corten Steel in the Garden: Using Warm Contrasts and Crisp Edges in a Modern Way
Corten steel brings warmth, texture, and crisp edges to the garden. Here’s how to use the material for bed edging, water basins, privacy screens, and accents.
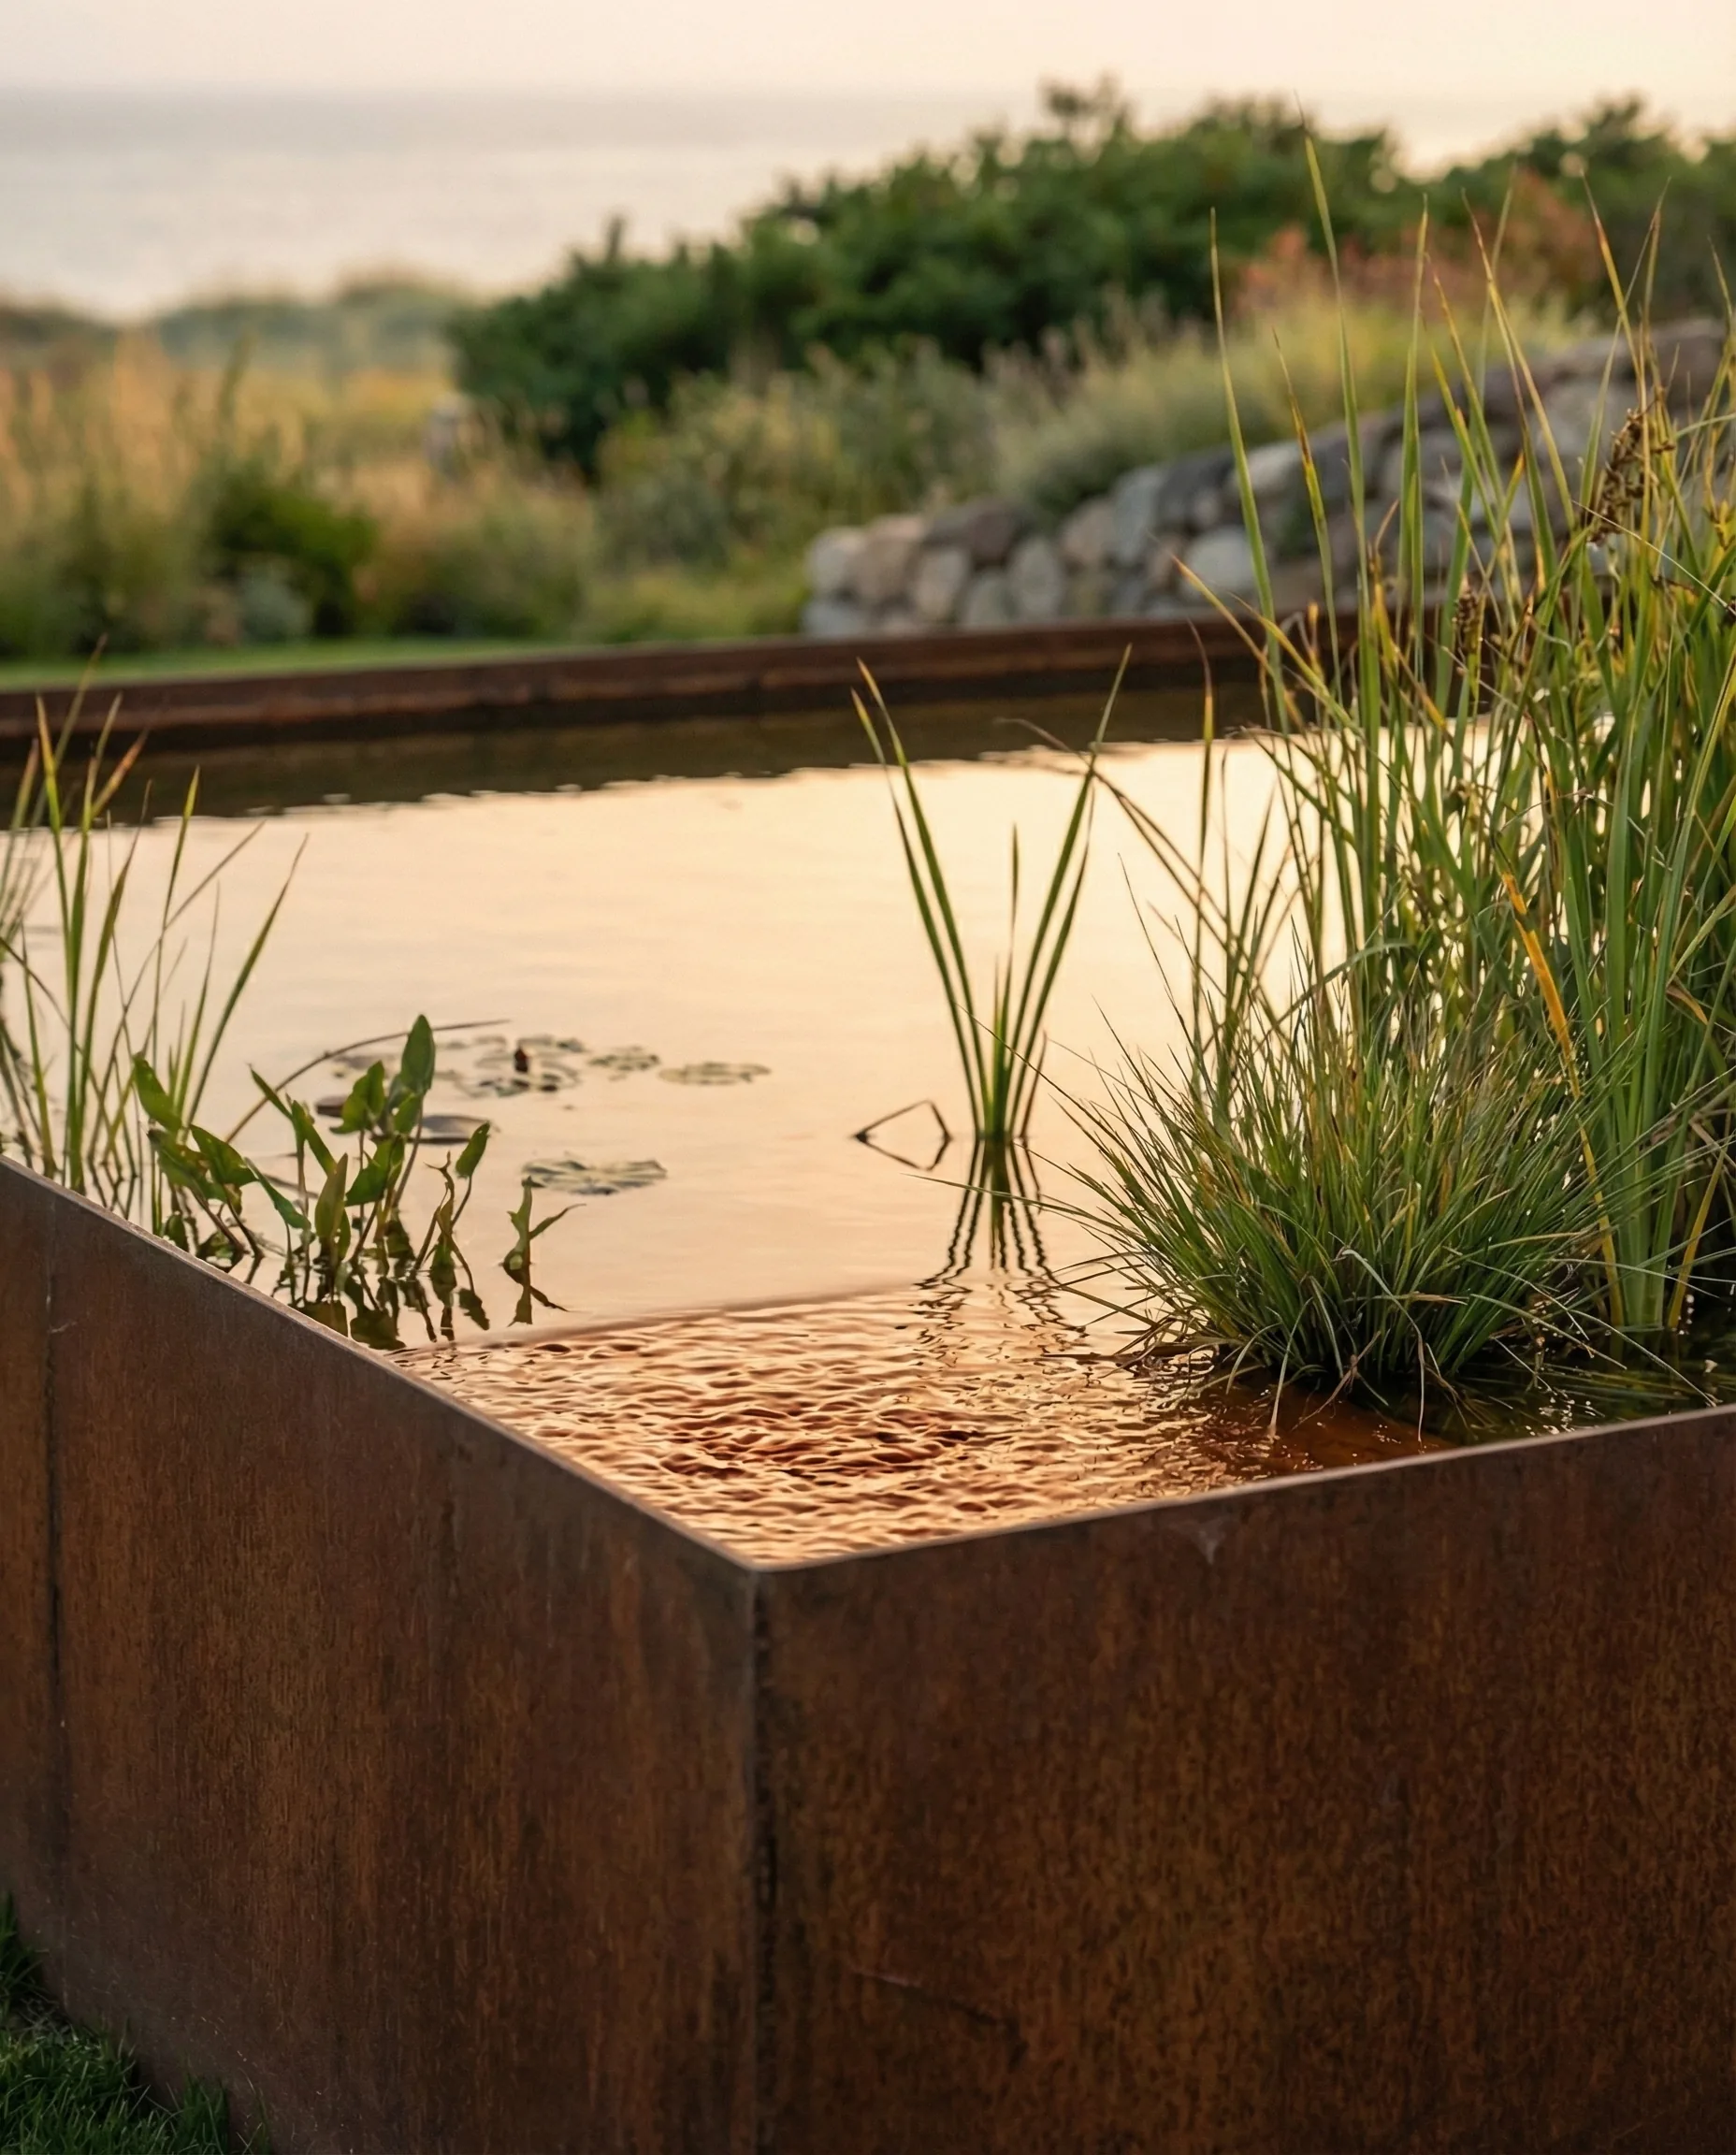
Garden Water Basins: Calm Surfaces as a Stylish Design Feature
Water basins bring calm, reflection and visual depth to the garden. Here’s how to plan shape, material and placement for a water feature that looks effortlessly refined.